AWS Machine Learning Blog
Automatically identify languages in multi-lingual audio using Amazon Transcribe
If you operate in a country with multiple official languages or across multiple regions, your audio files can contain different languages. Participants may be speaking entirely different languages or may switch between languages. Consider a customer service call to report a problem in an area with a substantial multi-lingual population. Although the conversation could begin in one language, it’s feasible that the customer might change to another language to describe the problem, depending on comfort level or usage preferences with other languages. In a similar vein, the customer care representative may transition between languages while conveying operating or troubleshooting instructions.
With a minimum of 3 seconds of audio, Amazon Transcribe can automatically identify and efficiently generate transcripts in the languages spoken in the audio without needing humans to specify the languages. This applies to various use cases such as transcribing customer calls, converting voicemails to text, capturing meeting interactions, tracking user forum communications, or monitoring media content production and localization workflows.
This post walks through the steps for transcribing a multi-language audio file using Amazon Transcribe. We discuss how to make audio files available to Amazon Transcribe and enable transcription of multi-lingual audio files when calling Amazon Transcribe APIs.
Solution overview
Amazon Transcribe is an AWS service that makes it easy for you to convert speech to text. Adding speech to text functionality to any application is simple with the help of Amazon Transcribe, an automated speech recognition (ASR) service. You can ingest audio input using Amazon Transcribe, create clear transcripts that are easy to read and review, increase accuracy with customization, and filter information to protect client privacy.
The solution also uses Amazon Simple Storage Service (Amazon S3), an object storage service built to store and retrieve any amount of data from anywhere. It’s a simple storage service that offers industry-leading durability, availability, performance, security, and virtually unlimited scalability at very low cost. When you store data in Amazon S3, you work with resources known as buckets and objects. A bucket is a container for objects. An object is a file and any metadata that describes the file.
In this post, we walk you through the following steps to implement a multi-multilingual audio transcription solution:
- Create an S3 bucket.
- Upload your audio file to the bucket.
- Create the transcription job.
- Review the job output.
Prerequisites
For this walkthrough, you should have the following prerequisites:
- An AWS account
- AWS Identity and Access Management (IAM) permissions to:
- Create S3 buckets as well as read and write bucket data
- Access the Amazon Transcribe console and call Amazon Transcribe APIs
Amazon Transcribe provide the option to store transcribed output in either a service managed or customer managed S3 bucket. For this post, we have Amazon Transcribe write the results to a service managed S3 bucket.
Note that Amazon Transcribe is a Regional service and the Amazon Transcribe API endpoints being called need to be in the same Region as the S3 buckets.
Create an S3 bucket to store your audio input files
To create your S3 bucket, complete the following steps:
- On the Amazon S3 console, choose Create bucket.

- For Bucket name, enter a globally unique name for the bucket.
- For AWS Region, choose the same Region as your Amazon Transcribe API endpoints.
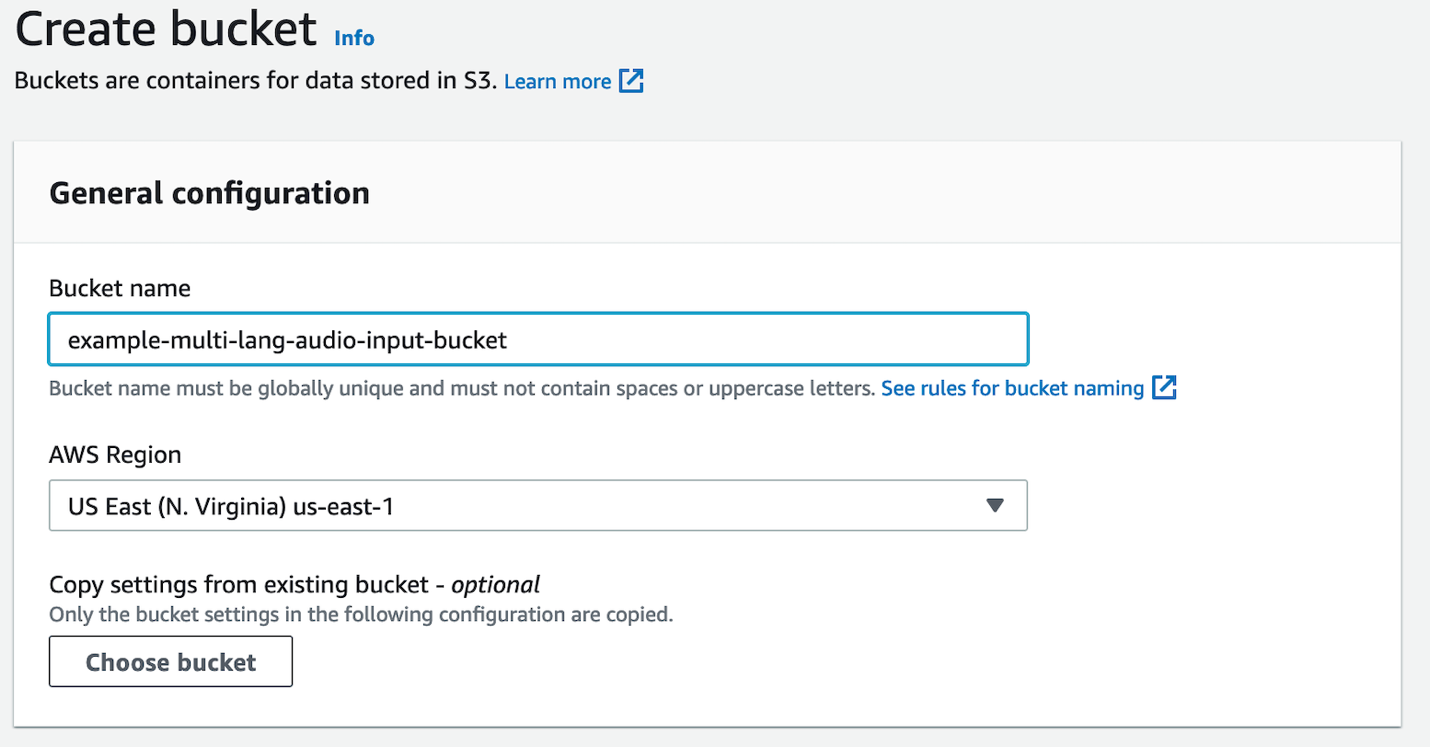
- Leave all defaults as is.
- Choose Create bucket.

Upload your audio file to the S3 bucket
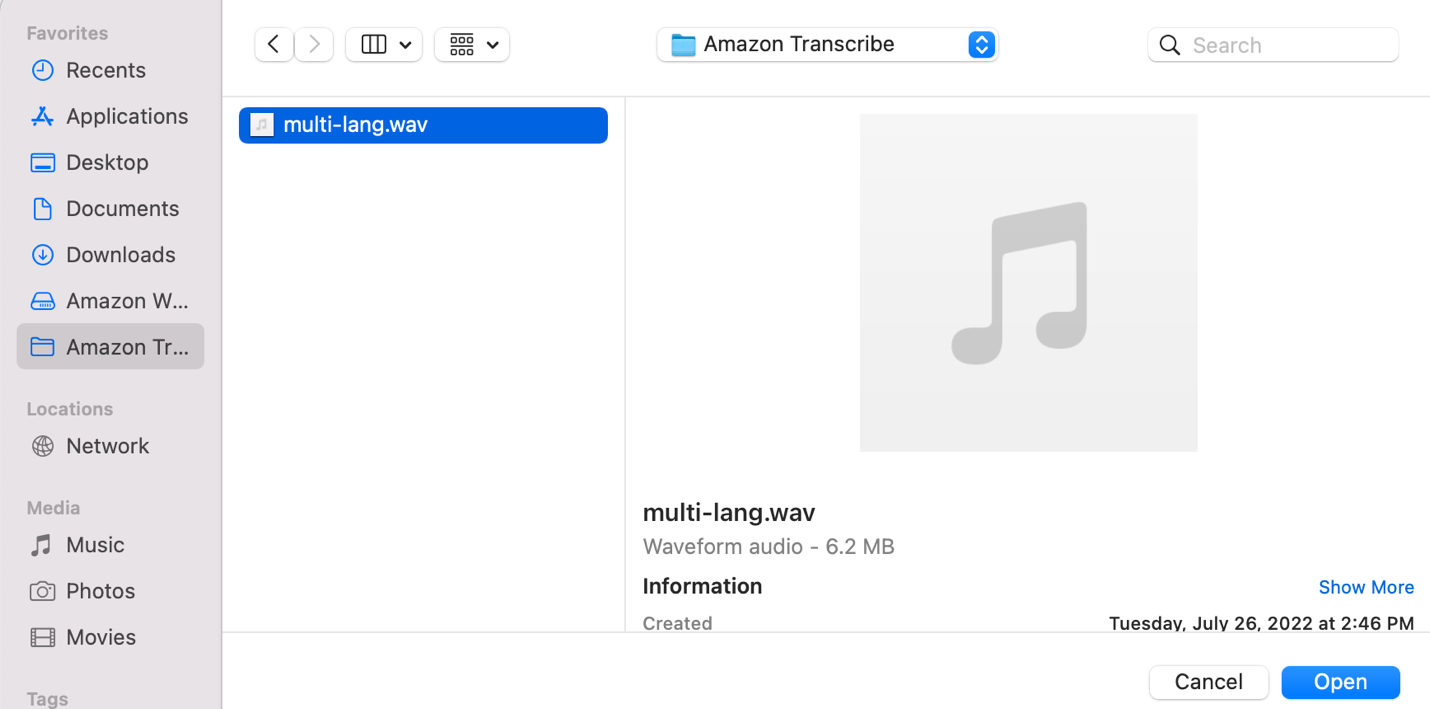
Upload your multi-lingual audio file to the S3 bucket in your AWS account. For the purpose of this exercise, we use the following sample multi-lingual audio file. It captures a customer support call involving English and Spanish languages.
- On the Amazon S3 console, choose Buckets in the navigation pane.
- Choose the bucket you created previously for storing the input audio files.
- Choose Upload.

- Choose Add files.
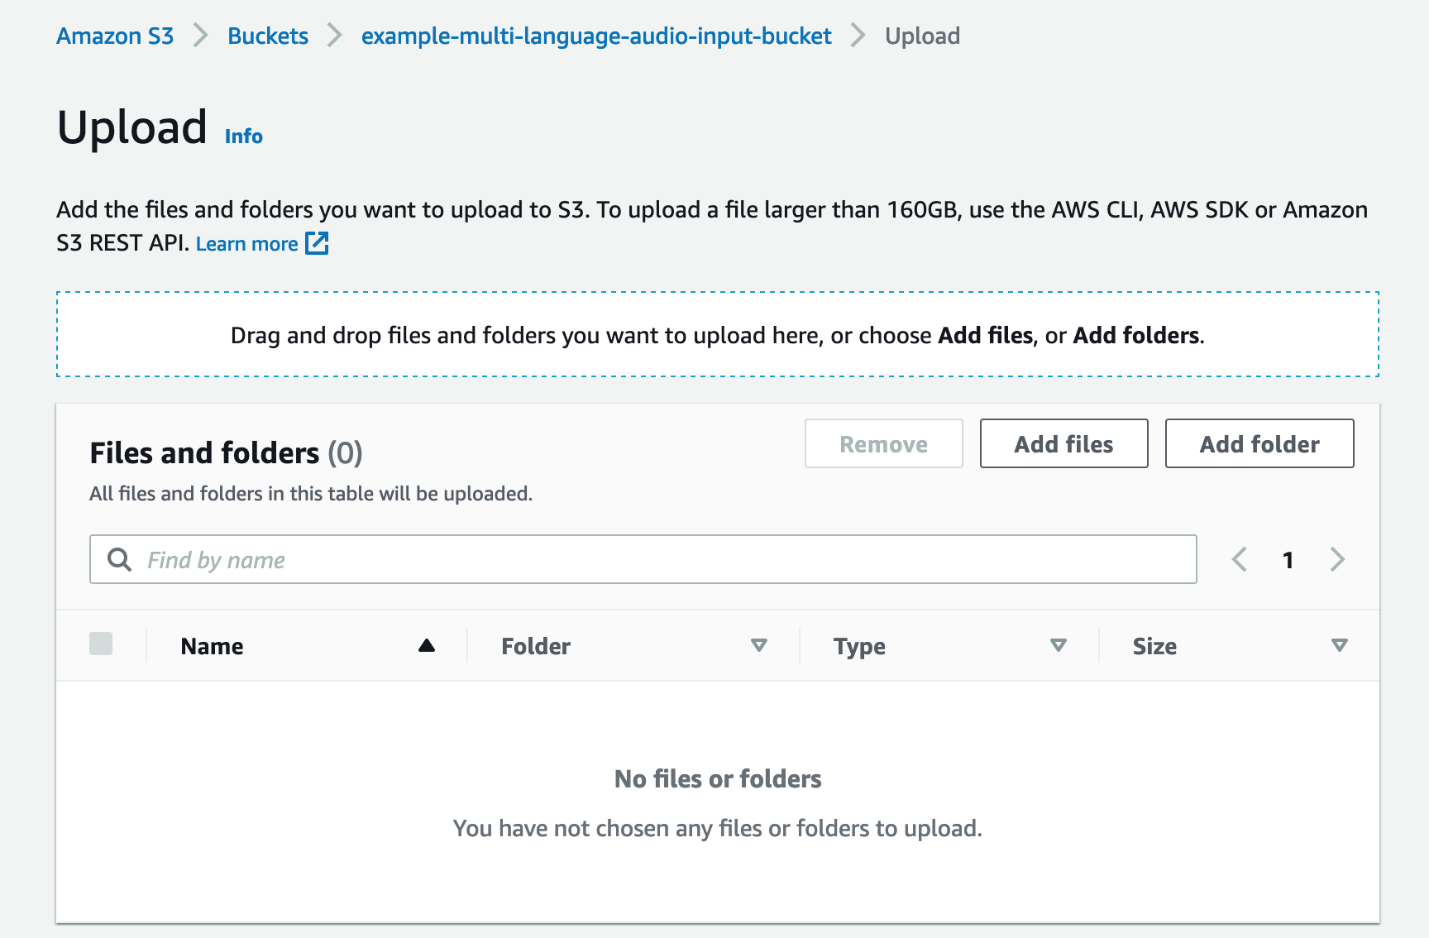
- Choose the audio file you want to transcribe from your local computer.
- Choose Upload.

Your audio file will shortly be available in the S3 bucket.
Create the transcription job
With the audio file uploaded, we now create a transcription job.
- On the Amazon Transcribe console, choose Transcription jobs in the navigation pane.
- Choose Create job.

- For Name, enter a unique name for the job.
This will also be the name of the output transcript file. - For Language settings, select Automatic multiple languages identification.
This feature enables Amazon Transcribe to automatically identify and transcribe all languages spoken in the audio file.

- For Language options for automatic language identification, leave it unselected.
Amazon Transcribe automatically identifies and transcribes all languages spoken in the audio. To improve transcription accuracy, you can optionally select two or more languages you know were spoken in the audio.

- For Model type, only the General model option is available at the time of writing this post.
- For Input data, choose Browse S3.
- Choose the audio source file we uploaded previously.

- For Output data, you can select either Service-managed S3 bucket or Customer specified S3 bucket. For this post, select Service-managed S3 bucket.

- Choose Next.
- Choose Create job.
Review the job output
When the transcription job is complete, open the transcription job.

Scroll down to the Transcription preview section. The audio transcription is displayed on the Text tab. The transcription includes both the English and Spanish portions of the conversation.
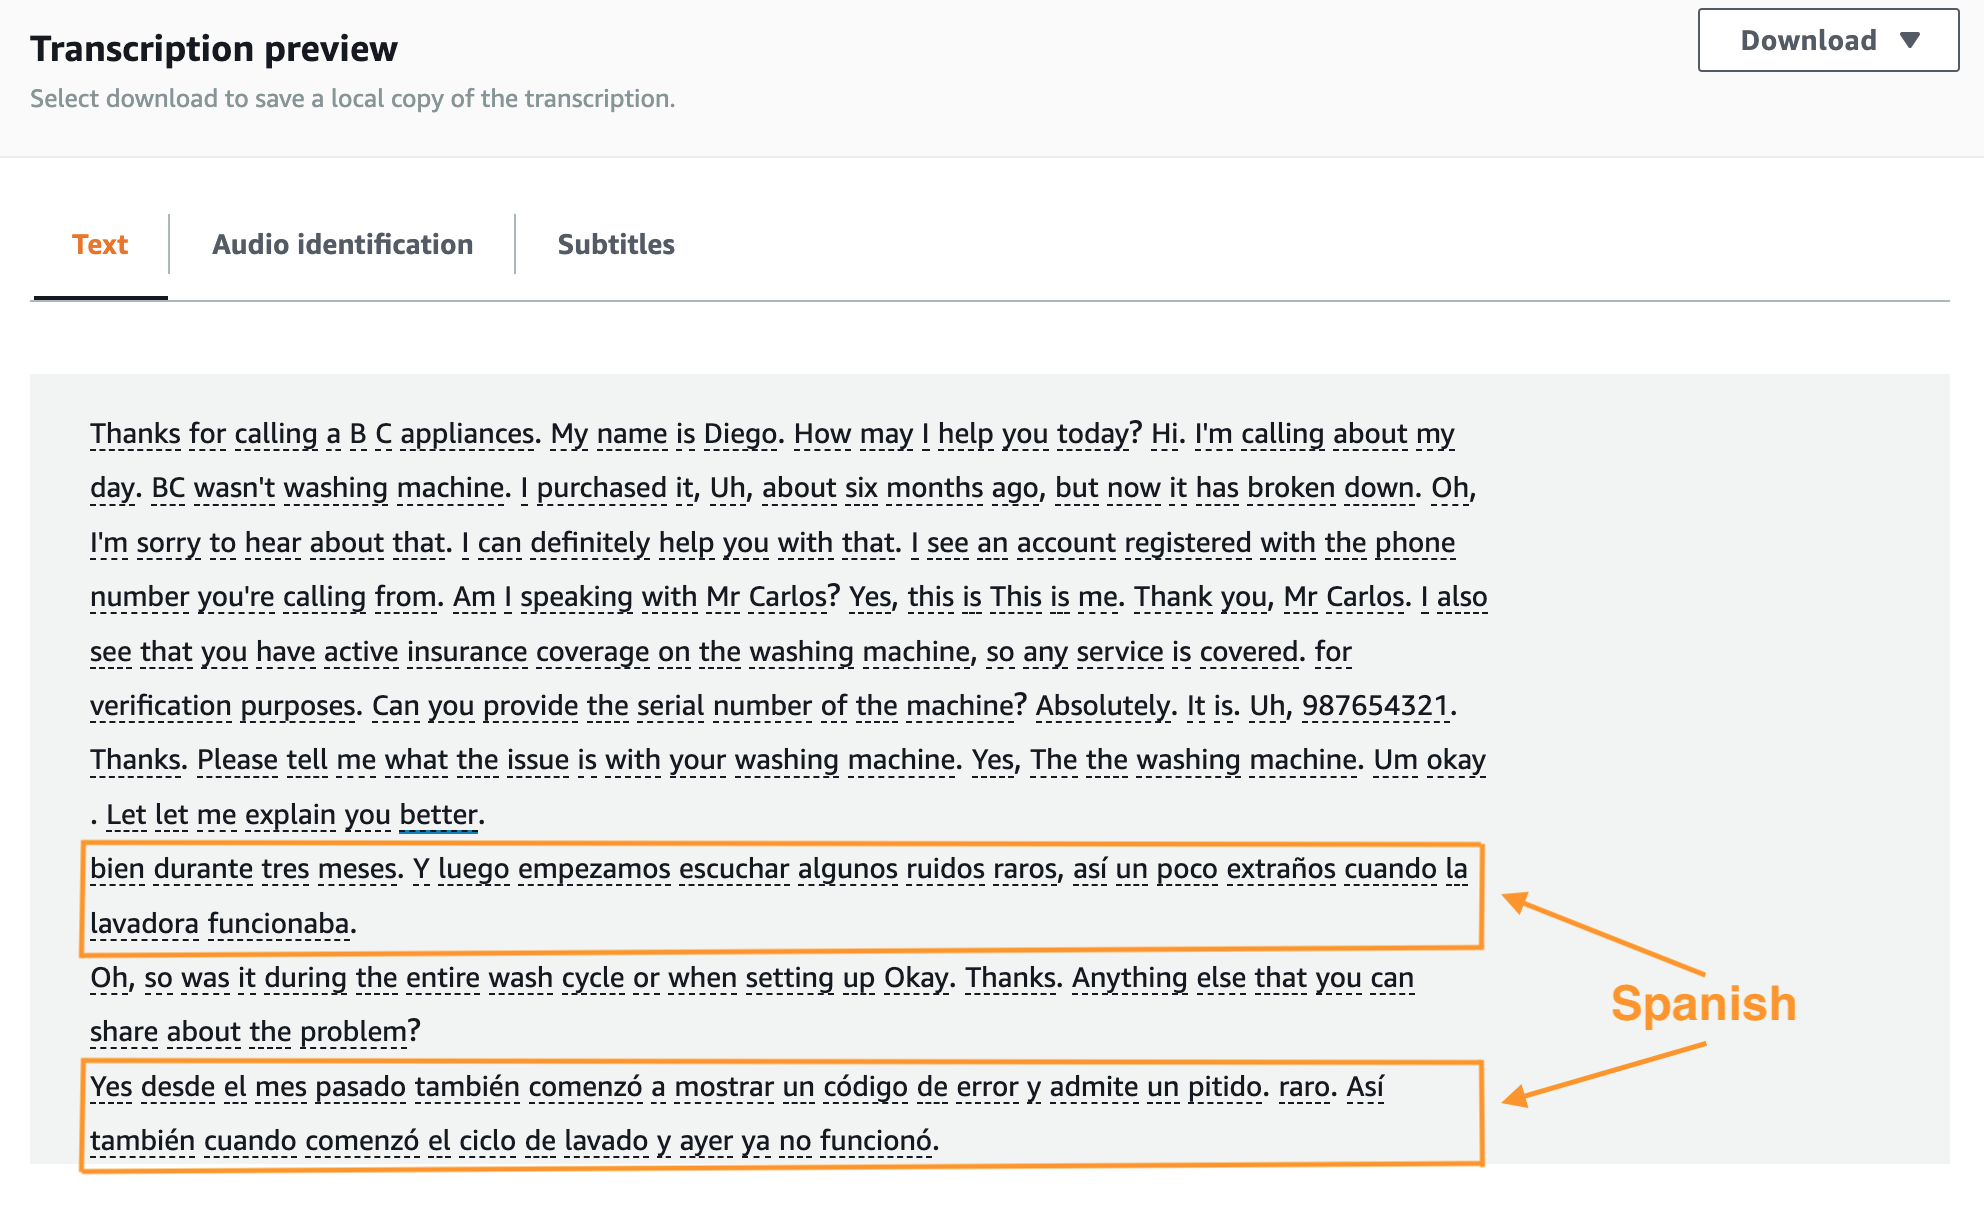
You can optionally download a copy of the transcript as a JSON file, which you could use for further post-call analytics.
Clean up
To avoid incurring future charges, empty and delete the S3 bucket you created for storing the input audio source file. Make sure you have the files stored elsewhere because this will permanently remove all objects contained within the bucket. On the Amazon Transcribe console, select and delete the job previously created for the transcription.
Conclusion
In this post, we created an end-to-end workflow to automate identification and transcription of multi-lingual audio files, without writing any code. We used the new functionality in Amazon Transcribe to automatically identify different languages in an audio file and transcribe each language correctly.
For more information, refer to Language identification with batch transcription jobs.
About the Authors
 Murtuza Bootwala is a Senior Solutions Architect at AWS with an interest in AI/ML technologies. He enjoys working with customers to help them achieve their business outcomes. Outside of work, he enjoys outdoor activities and spending time with family.
 Victor Rojo is passionate about AI/ML and software development. He helped get Amazon Alexa up and running in the US and Mexico. He also brought Amazon Textract to AWS Partners and got AWS Contact Center Intelligence (CCI) off the ground. He’s currently the Global Tech Leader for Conversational AI Partners.
 Babu Srinivasan is an AWS Sr. Specialist SA (Language AI Services) based out of Chicago. He focuses on Amazon Transcribe (speech to text), helping our customers use AI services to solve business problems. Outside of work, he enjoys woodworking and performing magic shows.